Ford; 2/9/13, 8:30 p.m.; Rexburg, ID; f/5.6; 1/250; Nikon D5100
I followed Tutorial #10 (Brushed On Effect) for this photo. I used the History Brush and Thick Brushes to repaint the image back on to the canvas. I then added a double border, one black and one the orange color from his t-shirt.
Closet Shadow; 2/22/13, 11:30 p.m.; Rexburg, ID; f/10.0; 8.0; Nikon D5100
For this border I used Tutorial #12, which gave me this interesting blurred inner border. I took this photo while attempting to light paint for the first time. It’s super noisy, but creepy enough that I figured I could include it for the editing portion.
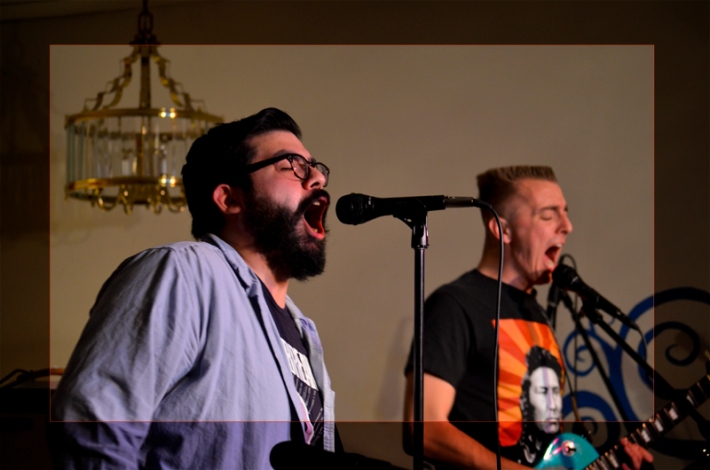
Mexico City Missiles; 2/9/13, 8:30 p.m.; Rexburg, ID; f/4.2; 1/30; Nikon D5100
I used Tutorial #13 to get this burned border. I just made added a Multiply blending mode and then used the marquee tool to delete it from the middle. I then added a stroke around the edge that is the color of the guitarists shirt. Pretty nifty.
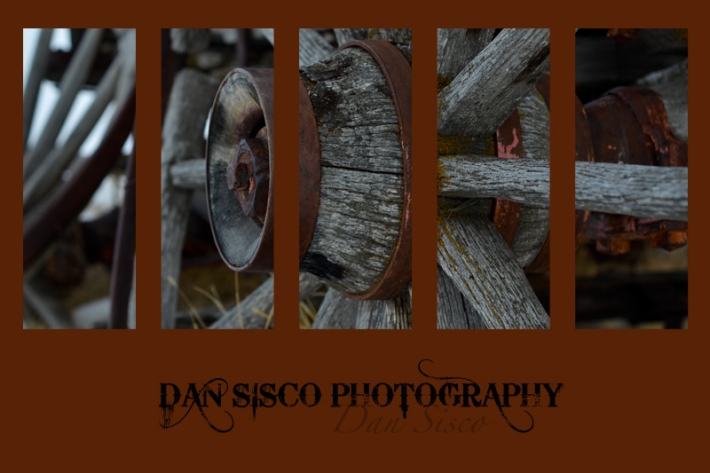
Wagon Wheel; 2/14/13, 4:30 p.m.; Bannack, MT; f/8.0; 1/3200; Nikon D5100
This is my Fine Art Template. I didn’t have any favorite photos that I hadn’t already posted to my blog, but I did really like this photo of a wagon wheel at Bannack. And the spokes of the wheel look pretty cool in this template. So I went with it. I followed the instructions in Tutorial #36 by drawing five black rectangles and then merging this image and creating a clipping mask so that it would only show through the black rectangles. I then added a makeshift logo and changed the background to a rust color I picked from the wheel.


nice photos………